A big shoutout and thank you to my Dad for basically doing this whole project with me <3
If you have an outdoor area that is in need of some shade, you buy an umbrella, right? Right. Then you have to contemplate what is going to hold that bad boy upright and not take off like Mary Poppins. Your umbrella will stay totally upright with this quick DIY Patio Umbrella Stand project!
I’ve lived in a rental triplex for about 5 years now. In the past few years working from home, I’ve tried to carve out my own little patio area outside. My neighbors get the back area and I’ve commandeered the front. The front of the house however gets a TON of sun. That was before my landlord removed some ailing trees last year.
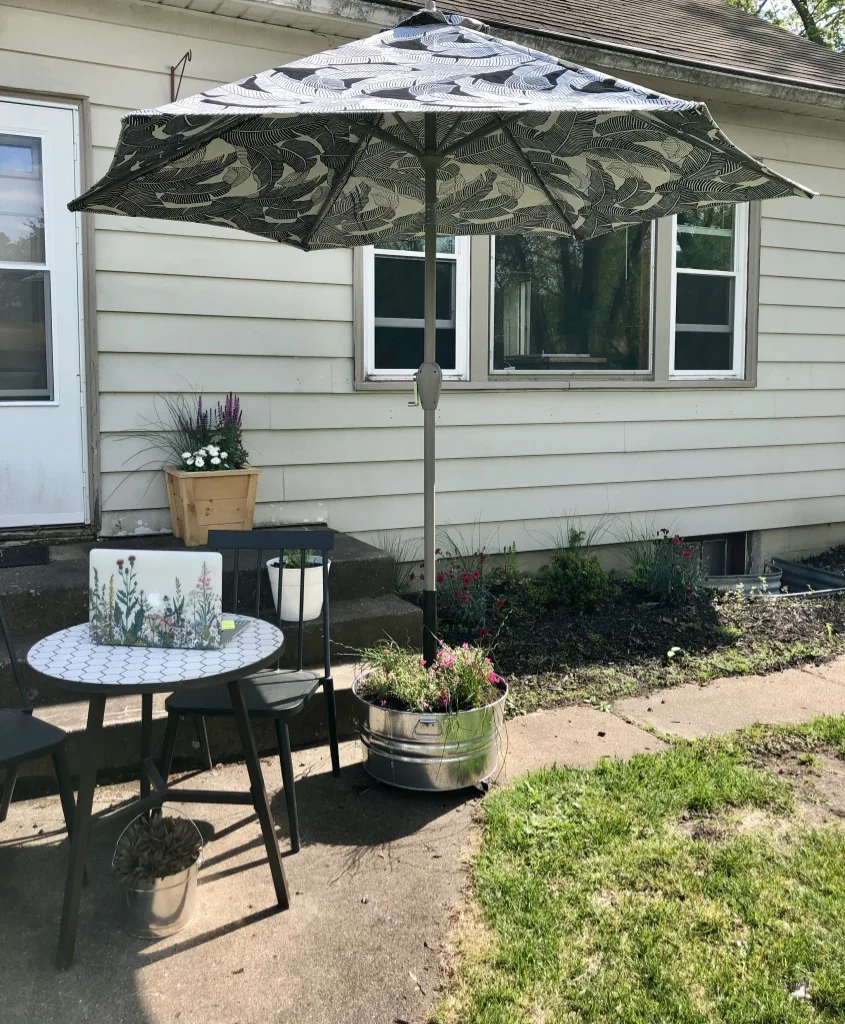
What have I tried?
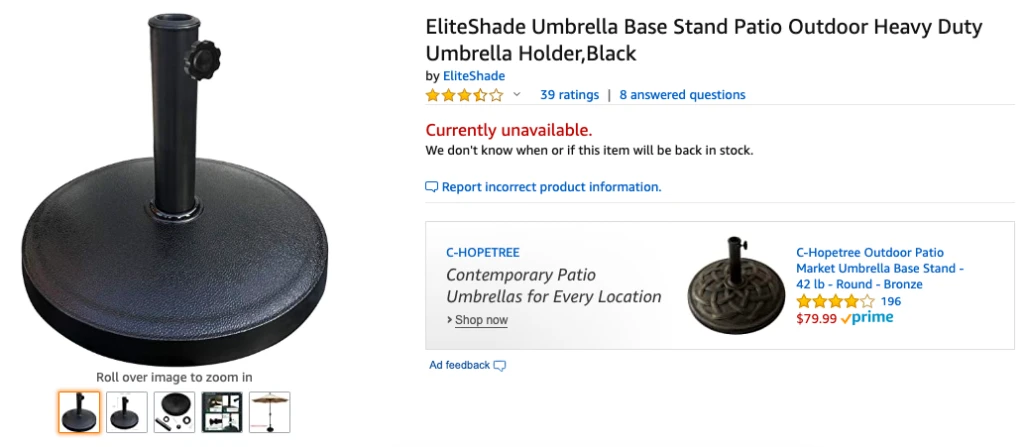
So for the past few years, I’ve ordered about 3 stand alone umbrella stands off of Amazon, each reporting to be heavier than the rest. No matter, my umbrella would be knocked over during a light breeze and I almost lost a window.
I found a few other DIY stands on the internet from fellow blogs (here and here), showed my dad who is the handiest. He said “we can make this even sturdier.” And now we have. Don’t get me wrong, theirs are great for their needs, but mine was Minnesota tornado-level winds.
The Planning Stages
I started out with a trip to Home Depot to get the basic things I thought I would need:
- Casters
- A PVC Pipe
- Quick mix concrete
- A decent sized, yet somewhat attractive planter
I failed on the planter. Dad lovingly shook his head and informed me that would tip over in a heartbeat. He was right. The wheels would be too close together and it would crash – there wasn’t enough weight at the base to hold this thing down.
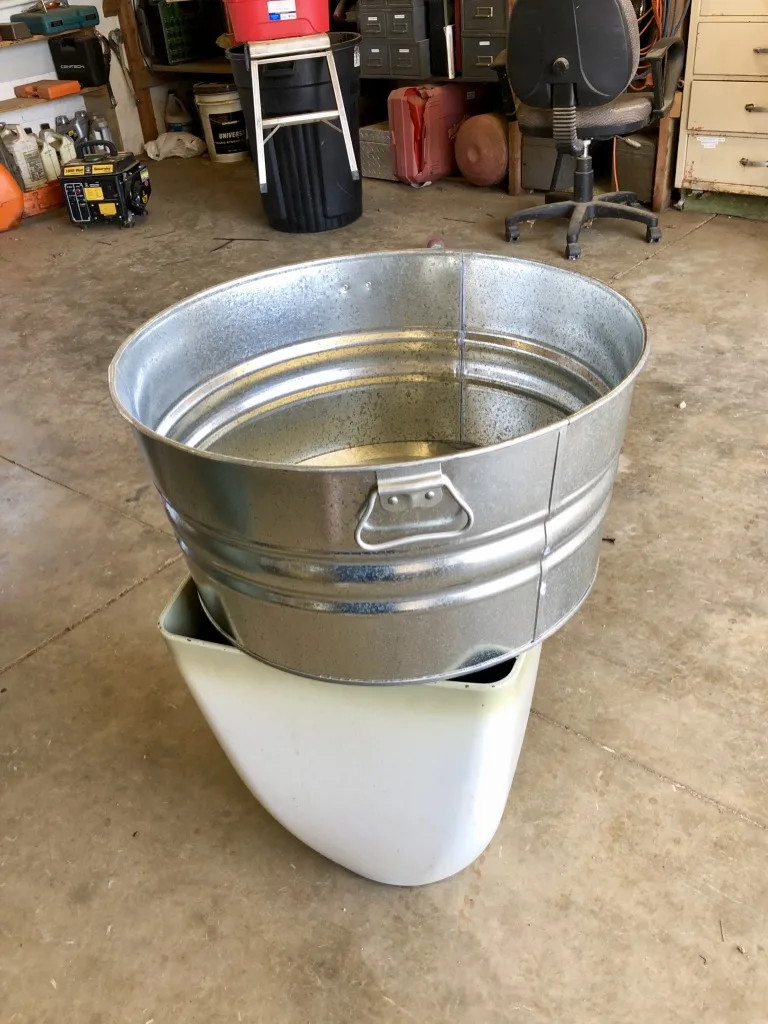
We looked around the Farm (my parents place with multiple outbuildings) and came across a wash basin that was supppper aged and looked like grandpa mixed some concrete in one upon a time. I took a quick trip to Fleet Farm and found one just like it to use.
The Foundation
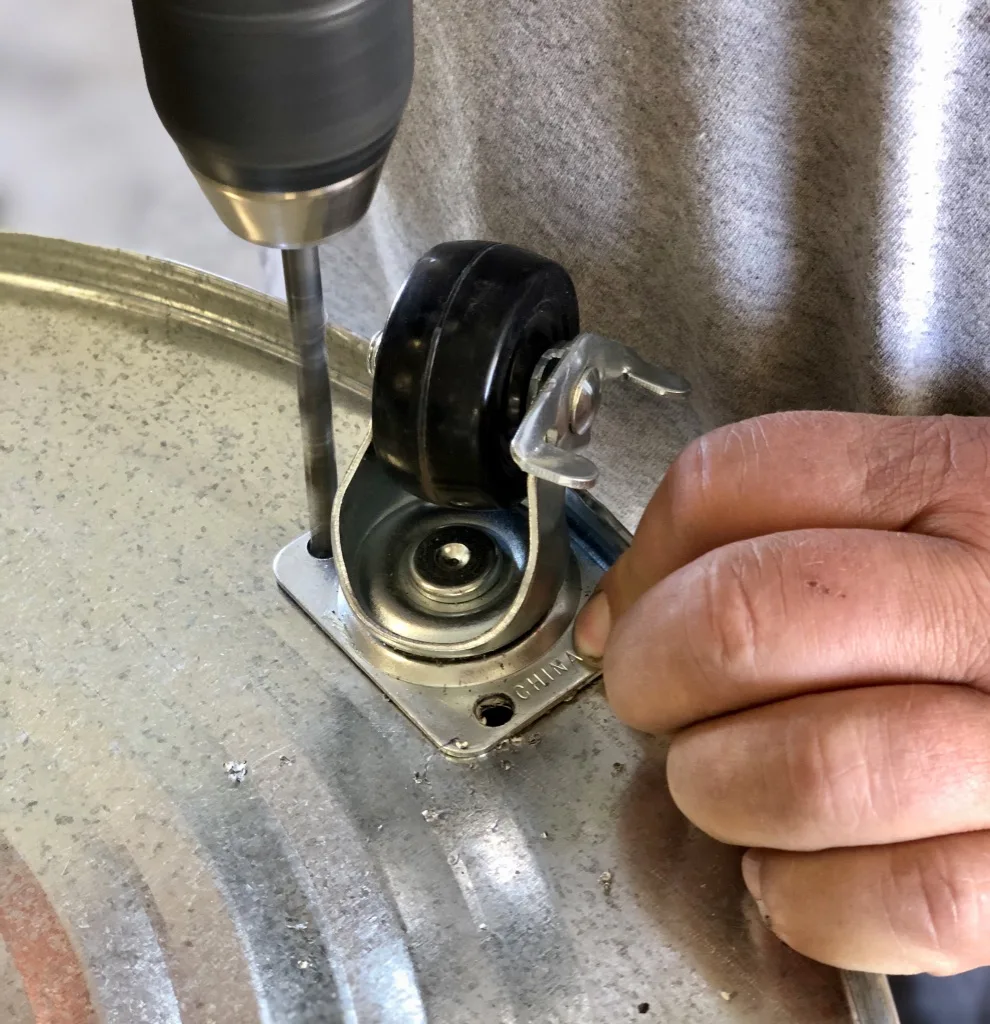
First we – by we I mean my dad, started out by attaching the casters to the bottom of the wash basin with 16 – 1/4″ x 3/4″ screws and bolts.
Then I duct taped the end of the PVC pipe I got at Home Depot to fit my specific umbrella. You want to tape this so concrete doesn’t sneak in and fill it up. (If you don’t have a measuring tape to measure your umbrella pole, take in a length of yarn or string to them to help see what size pipe you’ll need. They come in 2 foot precut pieces by plumbing.)
Dad was very insistent on making this sturdy and stand upright in the middle of the bucket when it came time for concrete to be added. He added some corner brackets that he had around the shop to the pipe and then screwed them into the planter.
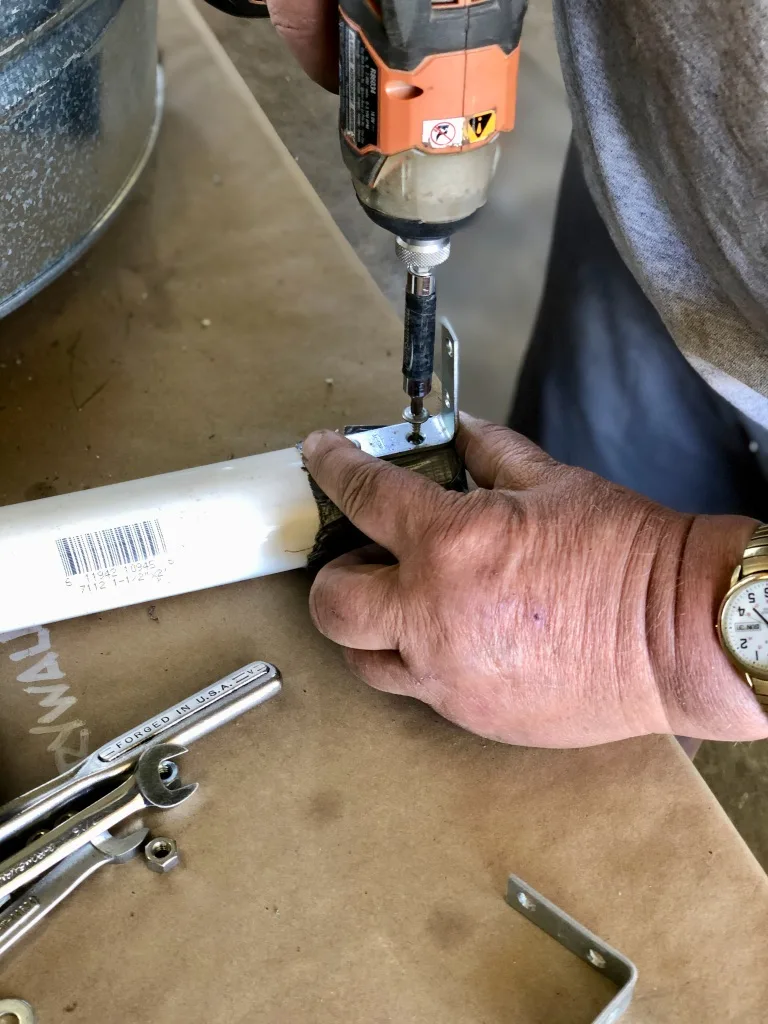
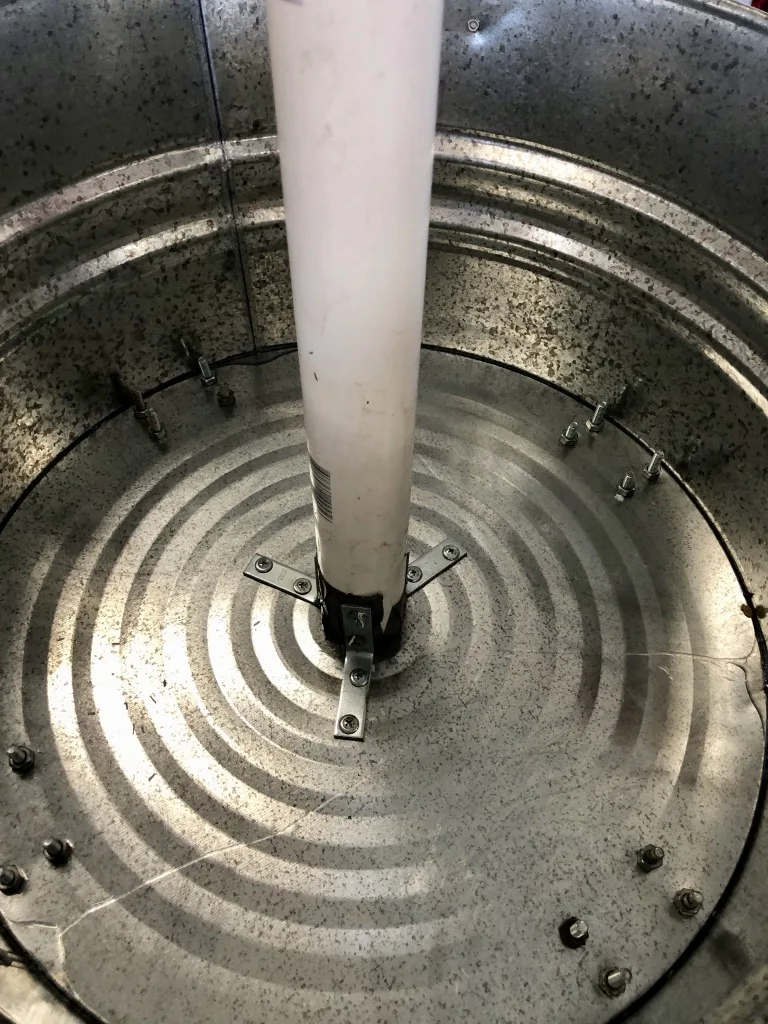
Honestly, probably good that he did add those brackets, unless you premixed the concrete outside of the planter and then dumped it in, the tape method shown below used my other bloggers wouldn’t have worked well.
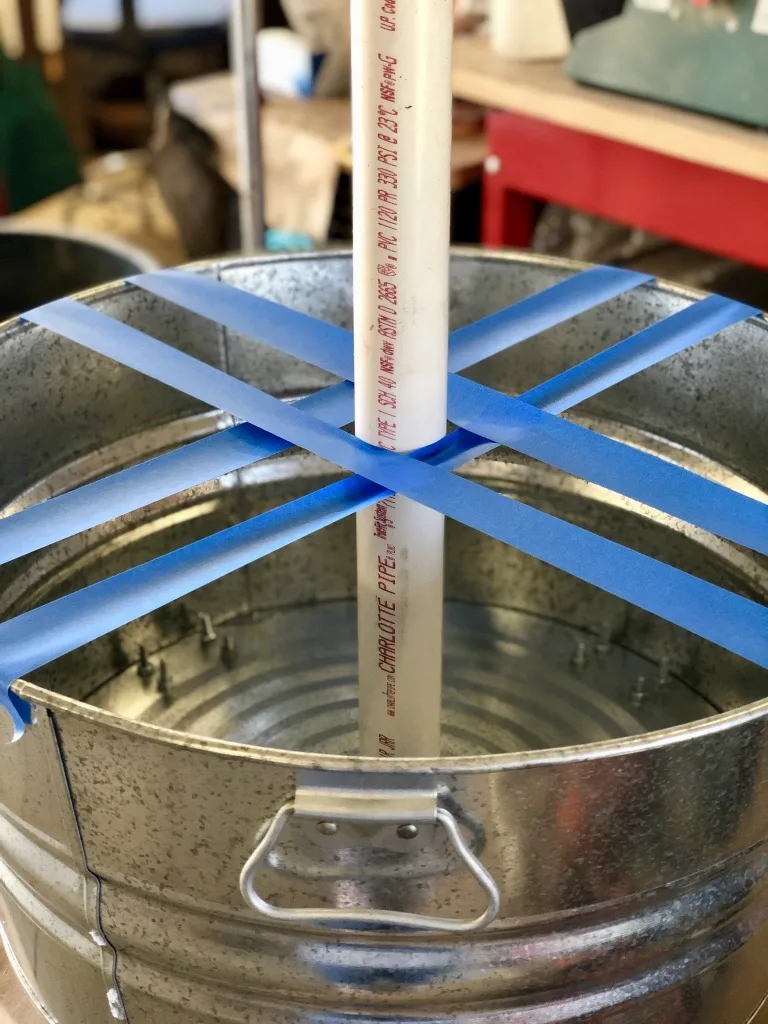
Concrete!
Next up was concrete. I initially bought just a 50lbs bag of quick mix, I was advised to pick up another when I went on the wash basin run to Fleet Farm. Glad I did, this thing is sturdier than my Great Dane.
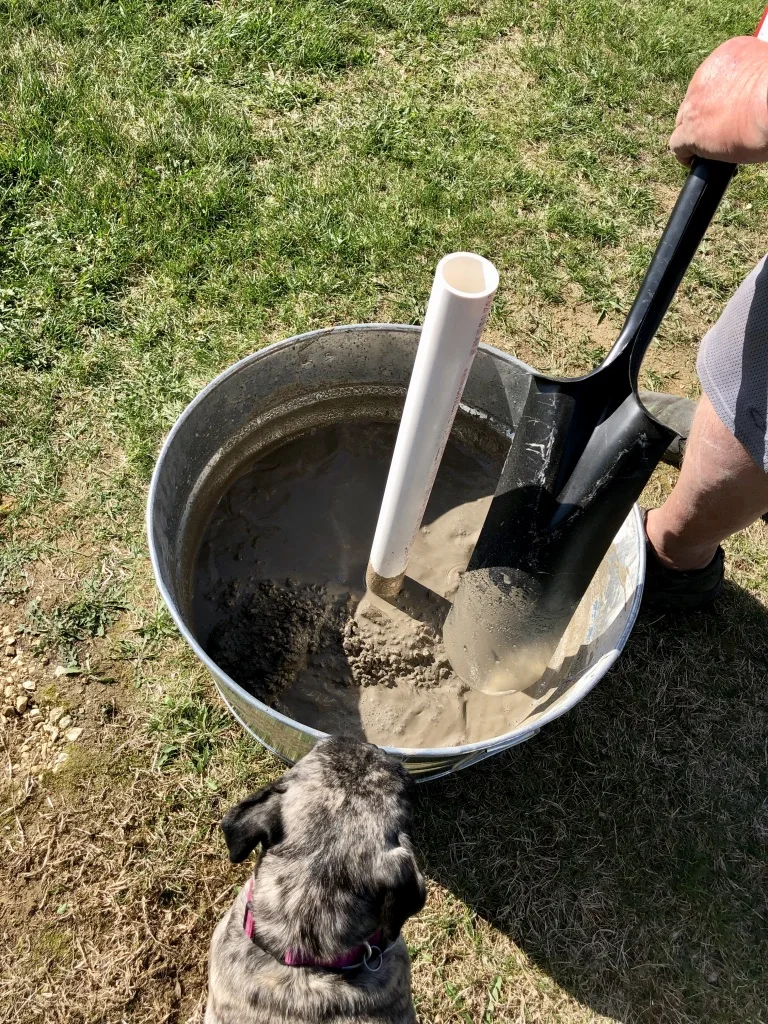
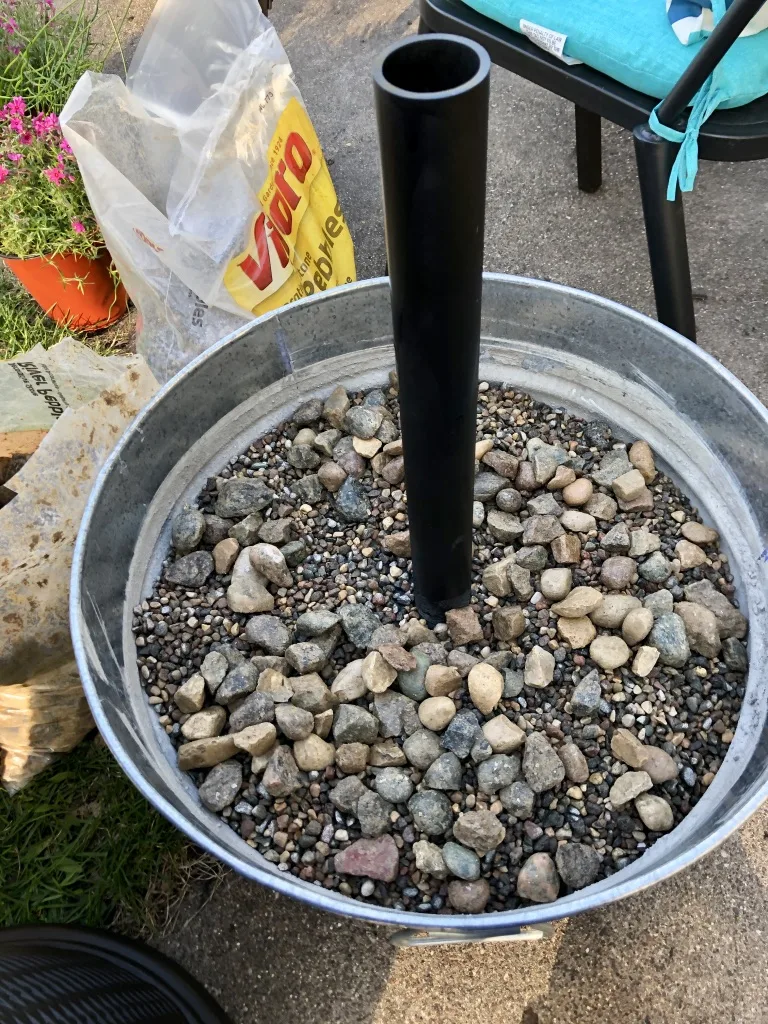
The concrete dried overnight and I took this back to my apartment. The PVC pipe gets a coat of paint, then I add some rocks added for drainage for the plants.
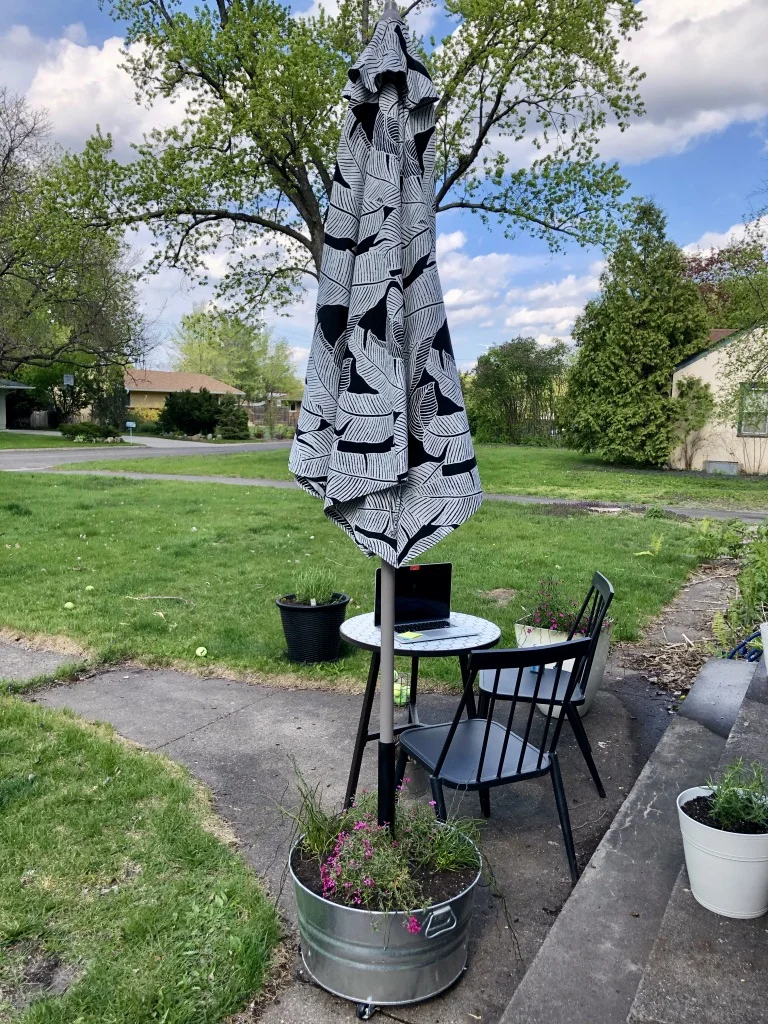
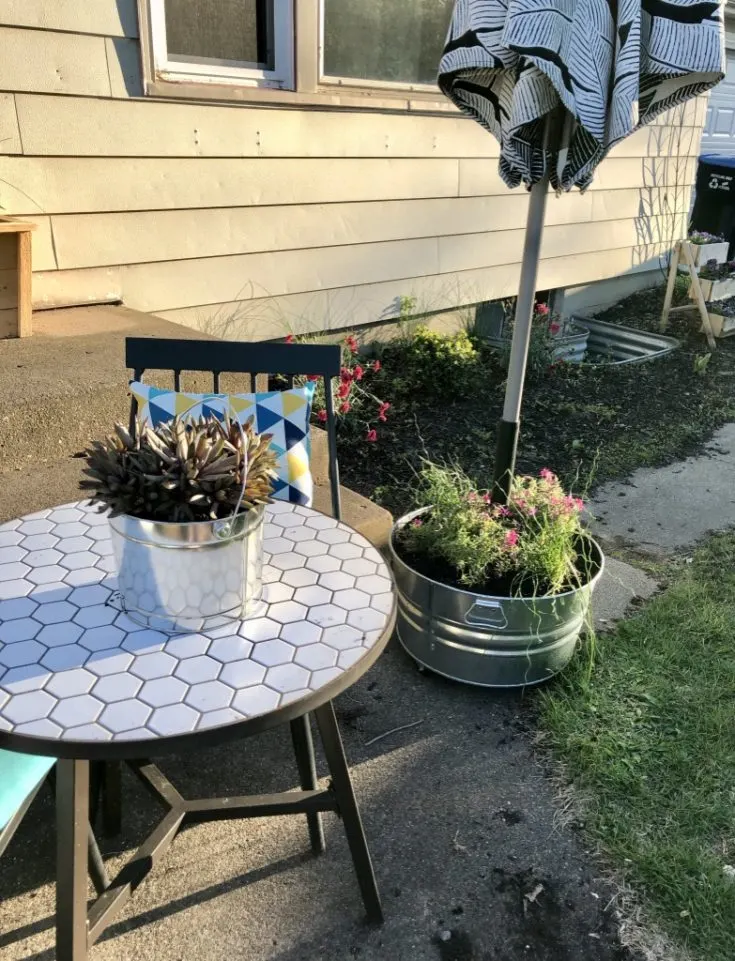
DIY Patio Umbrella Stand
Create a sturdy, DIY Umbrella Stand that will stay upright in even the strongest winds.
Materials
- 4 - weight specific caster
- 1 - planter of choice
- 1 - 2 ft precut PVC plumbing pipe
- 2 - 50lbs quick set concrete
- 16 - 1/4 by 3/4 standard screws and bolts
- 1 - can of spray paint
- 3 - 2' corner brackets
- A bit of duct tape
Instructions
1. Screw casters onto planter - tighten bolts
2. Duct tape over the end of PCV pipe
3. (Optional) Place the PVC pipe in the center of the planter, standing up. Screw one side of the corner brackets into the PVC pipe and the other side into the planter to stabilize the PVC pipe standing upright. Repeat this 2-3 times.
4. Add quick mix concrete to the planter with as much water as the instructions dictate. Stir until a smooth, watery sand consistency.
5. Let the concrete dry 12-24 hours.
6. Spray paint the PVC pipe a color of your choice
7. Add rocks and or plants to the remaining space to decorate the planter.
8. Insert your umbrella and enjoy!
Notes
When picking out a planter to use: You want a low and stout planter for more mass at the bottom. You also want to get casters rated to how much weight you'll be adding to the planter. You don't have to use 100lbs of concrete. You can add as much or as little as you'd like.
Please let me know if you tried this and how it went!

24 DIY Umbrella Stand That You Can Build Today - DIYS Craftsy
Sunday 2nd of October 2022
[…] igivenosips […]
Billie
Saturday 4th of June 2022
How tall was your pipe?
Carla
Monday 12th of July 2021
Thanks for the idea!! Did the same, using a half whiskey barrel and sand (note to self, line the barrel with plastic next time and maybe the sand won't leak out 😳).
Used a rubber hose reducer to secure the umbrella shaft to the PVC. And leftover deck boards as a table top.
If it blows over, Mother Nature has trouble on the way!!
Emma
Monday 5th of July 2021
Great idea but couldn’t you have found a vein wit a diameter larger than your current umbrella stand, put the stand in the basin and the fill with concrete? No need for tbe PVC pipe and bracing. Just a thought, your idea is still solid!
Brian
Sunday 6th of June 2021
THIS is a wonderful idea! Market umbrella stands are trash, no matter what you spend on them. I think I'll try this.
Nice job.